
Click on Pictures to enlarge the photo, these are large photos however if they are too large on this page it will slow down the load time.
IMPORTANT
Before starting read through the instructions and watch all videos before you go right into it. All YouTube links open in a new window.
CAUTION
DO NOT try to un-solder or solder the tabs from the bad battery or onto the new battery it might burst!
This is NOT the only way to replace a battery, this is just the way my husband chose to replace the battery.
We chose to use wires, instead of cutting the soldering tabs and trying to shove them into the small holes. The battery in my machine was a size 2320, but we THINK you might be able to get away with any 3 volt coin battery. The link below with the battery is the battery I purchased, again we chose this as this was the exact battery we took out of the machine. We recommend a battery with the tabs built in.
SOME, I need to stress this- SOME Radio Shacks will have the battery and solder clip you can use, NOT all Radio Shacks carry these items. SOME Radio Shacks may also fully replace the battery for you.
________________________________________________________________________________________________
MATERIALS
Screw Driver
Solder Iron
Solder
Damp Sponge
Solder Sucker or the Copper Braid for removing the solder
Battery with Solder tab (or battery and a clip type tab to solder to board)
OPTIONAL- 2 small wires
OPTIONAL- electrical tape
OPTIONAL- wire cutters
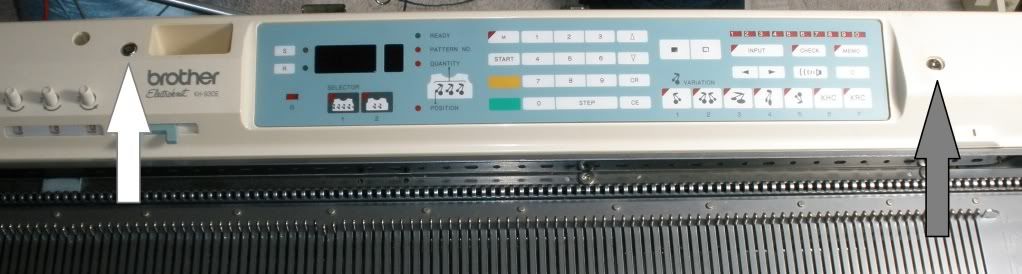
1. Remove the screws on both side of the electronic face, be sure to take your tools out and remove the mast. Wiggle the top until it pops off.
2. Remove all 6 cables, don't worry if you forget where they go, each one is a different size and can only go into its designated slot.

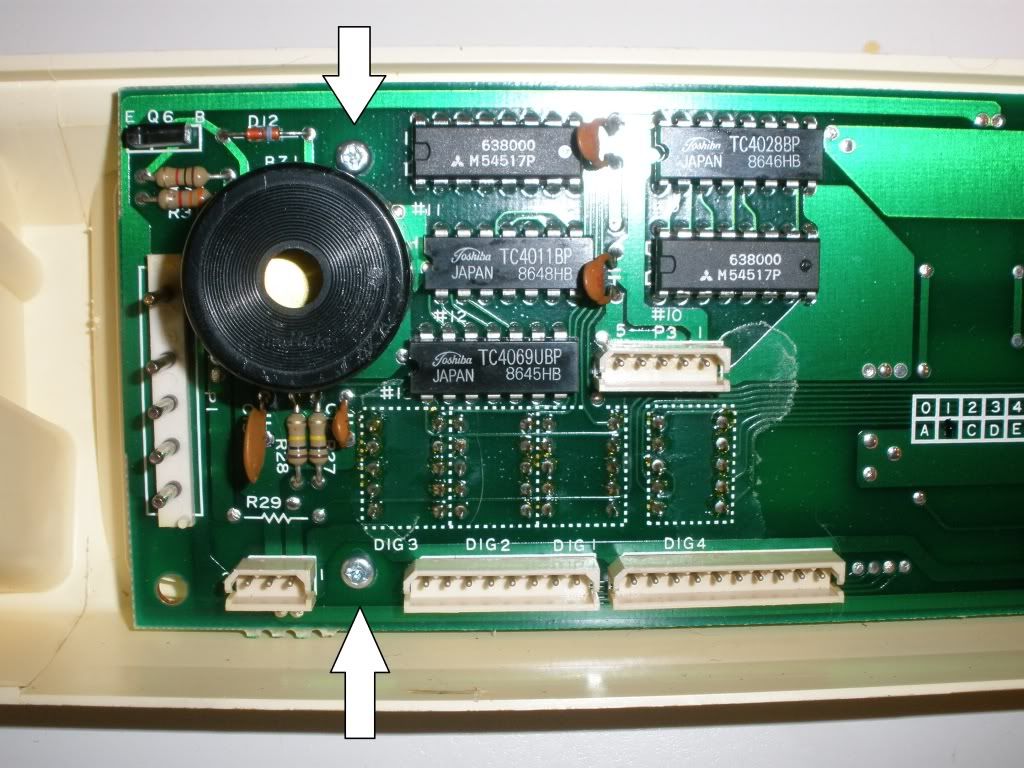
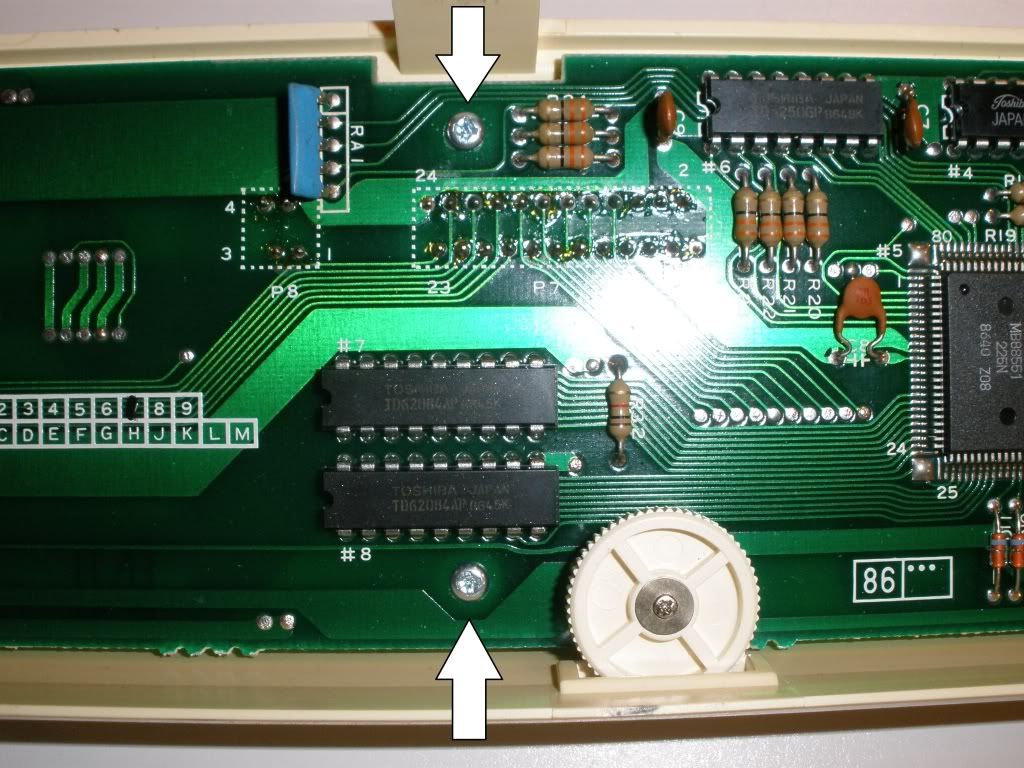
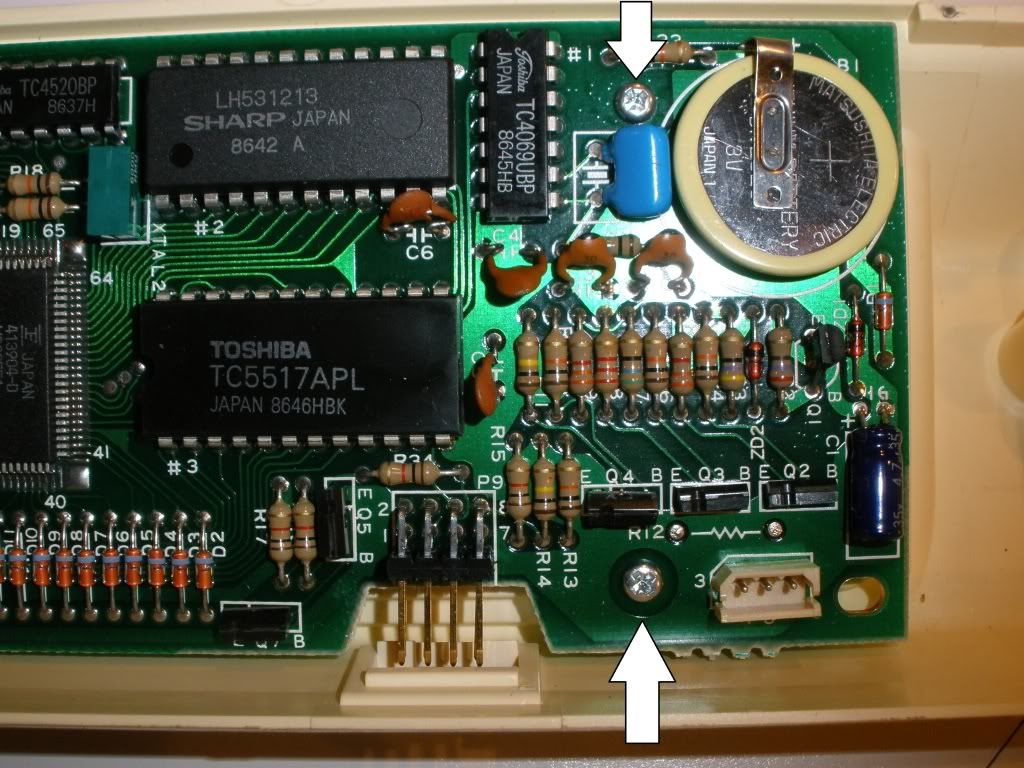
3. The next 4 pictures show the placement of the screws on the PC Board, remove the screws and set them aside.

4. Here you will see the ribbons that connect the touch pad to the PC Board, you can remove these as well if you think it will be easier to do the soldering.
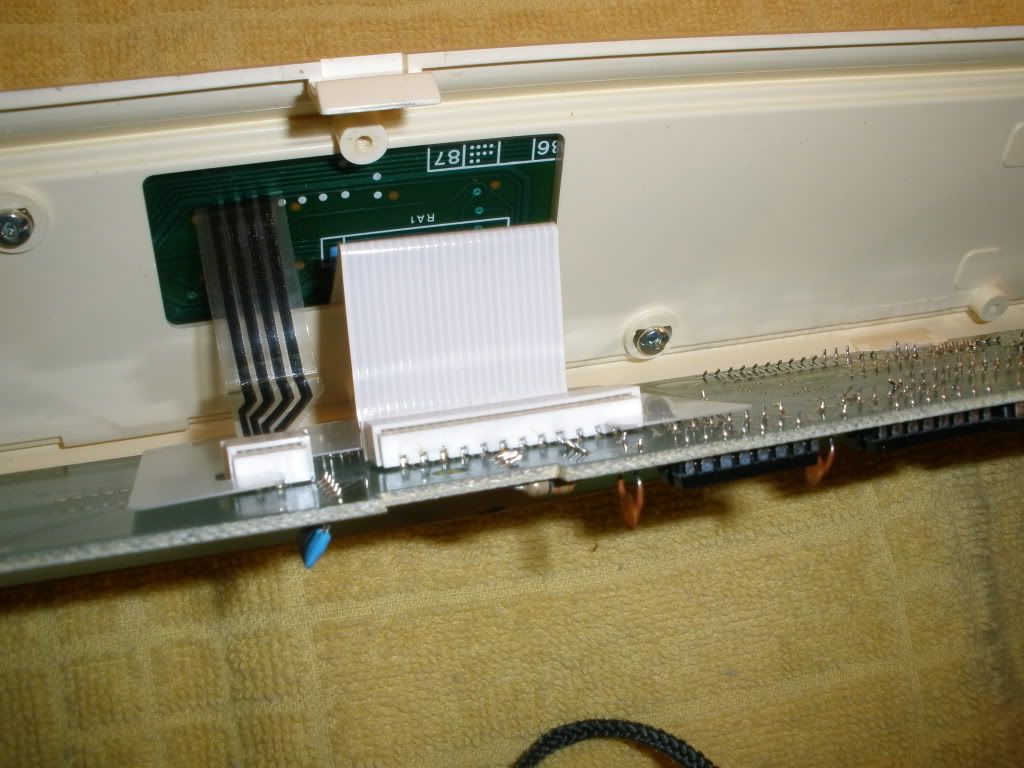
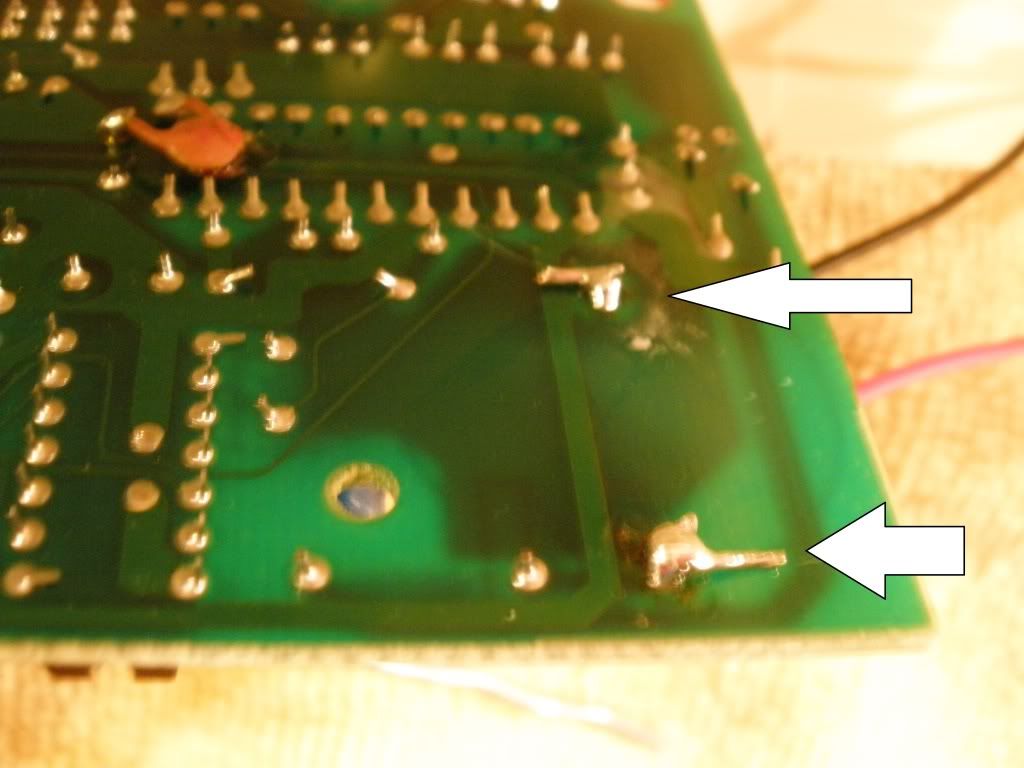
5. This is showing the PC Board turned over, you will solder both of those metal knobs, depending on how your battery is placed in there you may need to solder from the top as well.
If you need help learning how to solder please watch this video-

6. Mine had the tab from the battery split so it would go through the holes on the PC Board and went through to the back of the board and was soldered on top and bottom of the board.

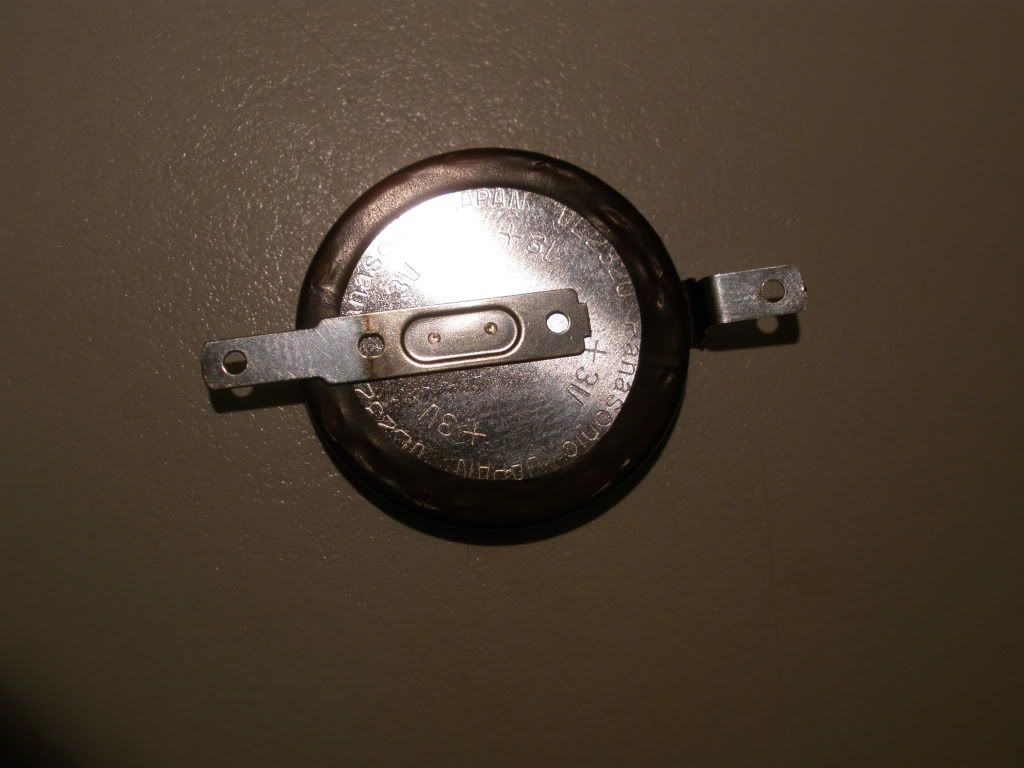
Here is the New Battery, you can purchase it here- New Battery
(these items ship via UPS and FedEX)
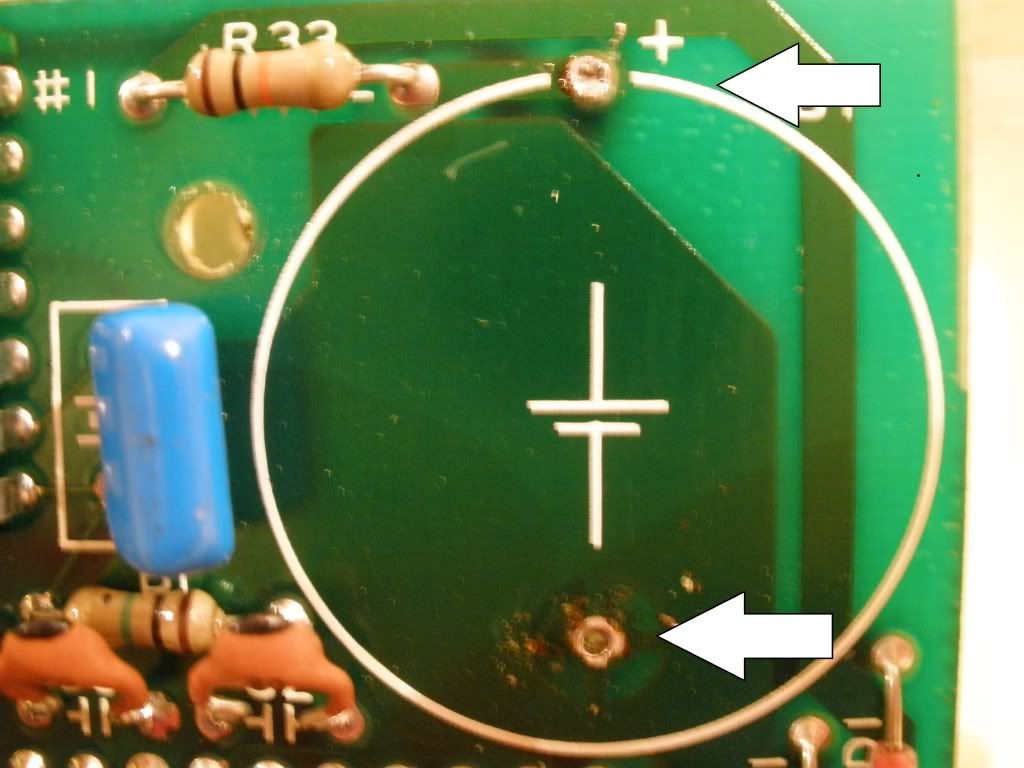
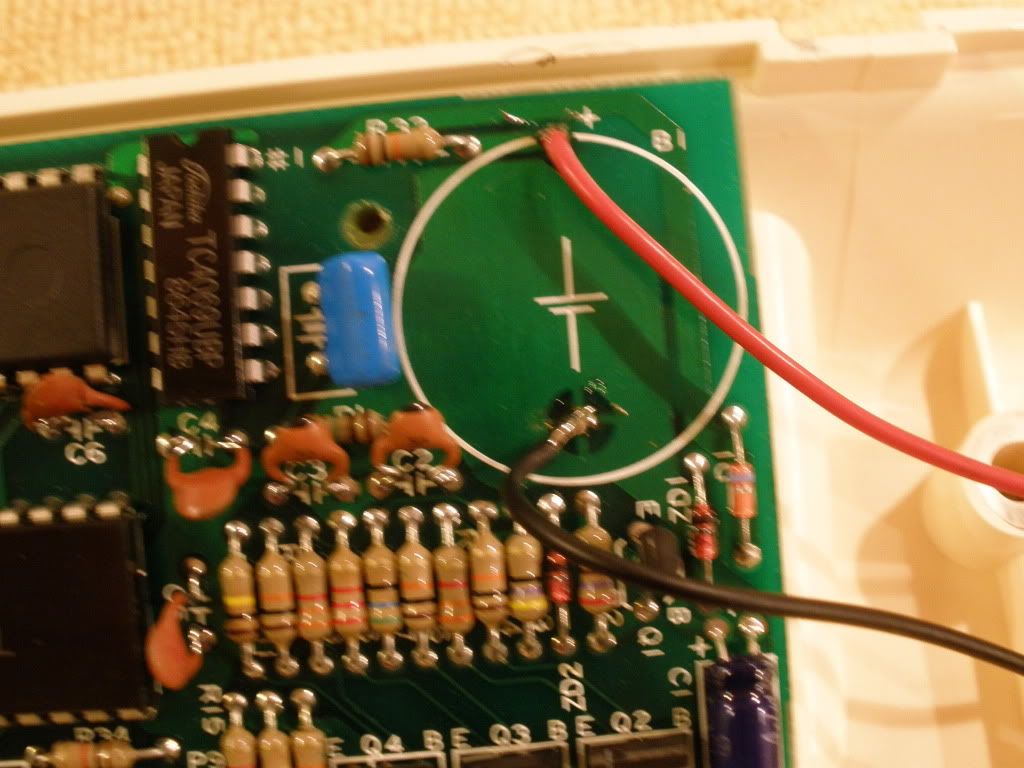
Here is the front of the board you need to make sure that you can see through both of the holes
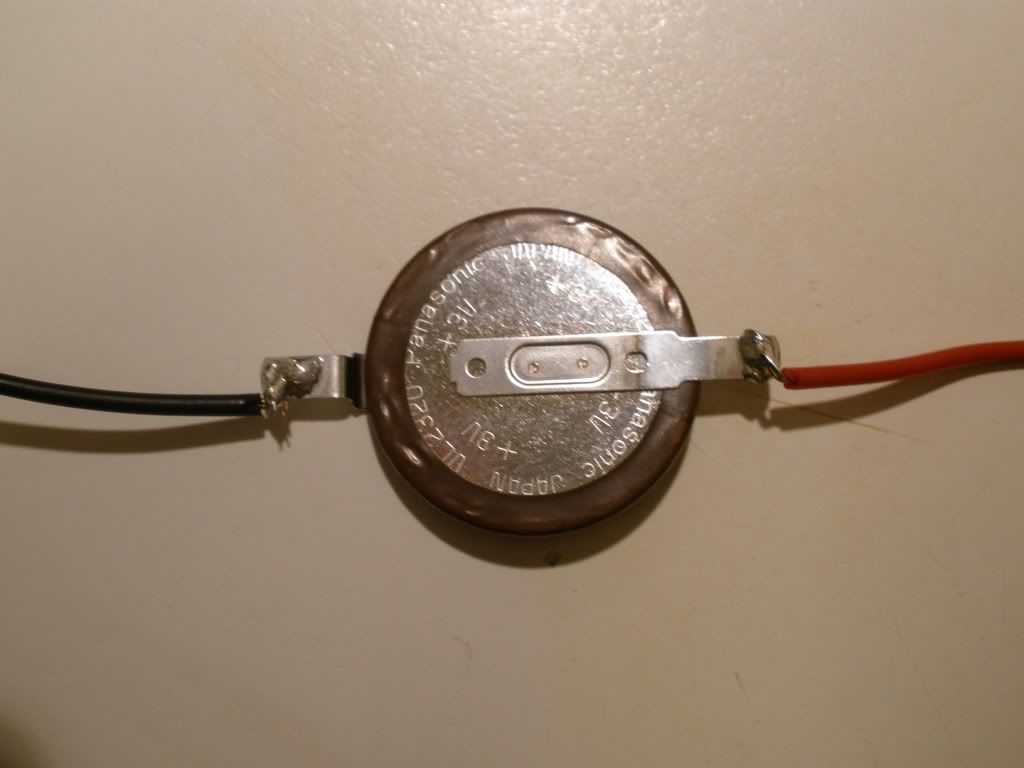
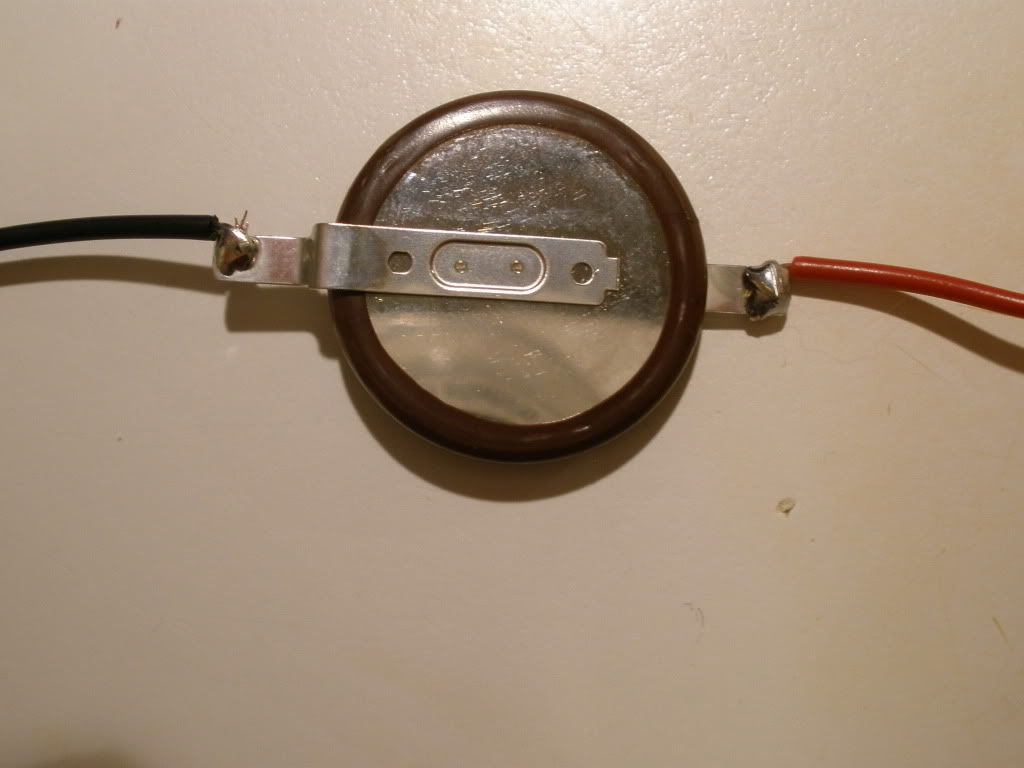
7. Connecting the battery to the board. We chose to use 2 wires (can find it at any hardware or electronic stores), we did red for the positive side (top of battery) and black for the negative side of the battery. You will need to strip about 2-3" of the wire and wrap it around the holes in the solder tab. Solder both wires on the top and bottom of the battery.
8. You will now strip the other end of the wire about 1", then thread them through the holes matching the positive to the positive (+) on the board, fold the exposed wire over in the back and solder it down (make sure that the soldering doesn't come near any of the other components on the board).
The picture is somewhat blurry but it shows that the back is also soldered down, the red wire is folded over away from the other soldered piece next to it.
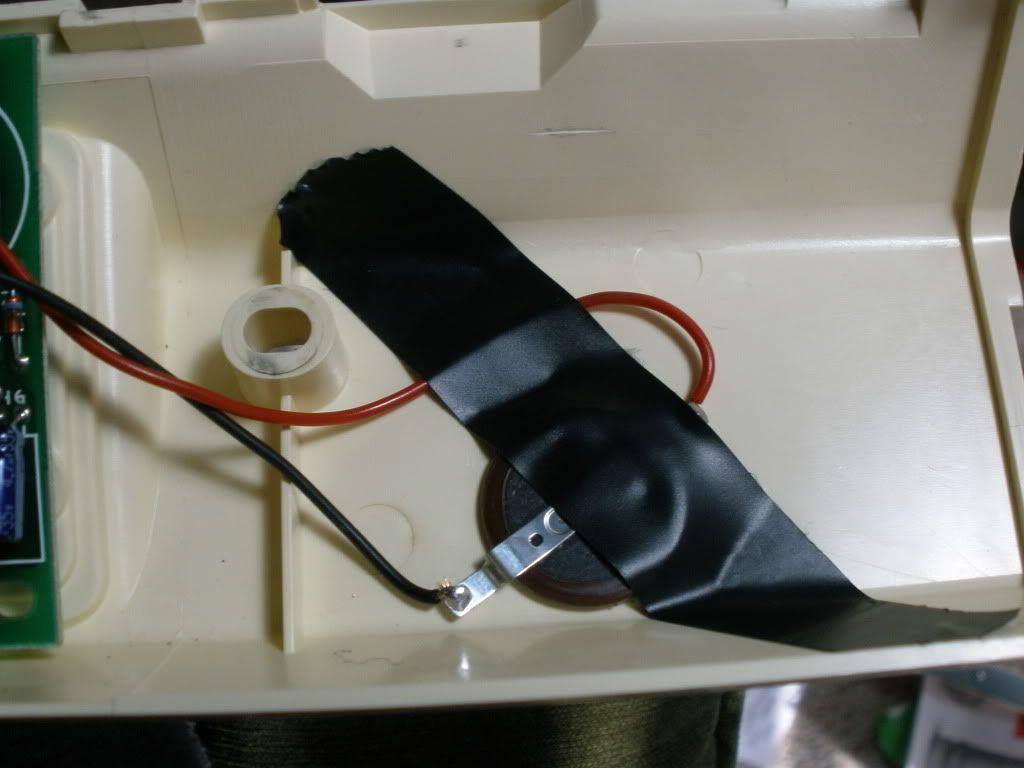
9. Take some electrical tape and tape it off to the side. If you need to replace the battery again, just cut the wires close to the battery and repeat step 7 from above, then tape it down.
10. Put the machine back together.